Update: July 23, 2018.
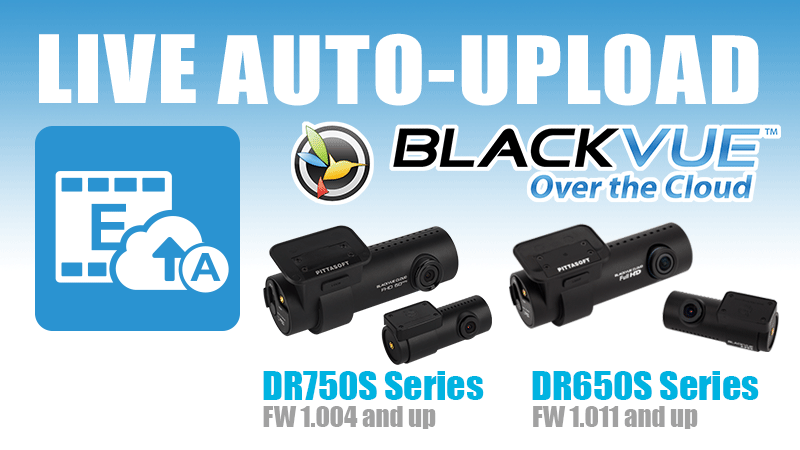
Event Live Auto-upload is a Cloud feature for the DR900S Series, DR750S Series and DR650S Series dashcams.
Let’s see what it is about.
The concept
When an Event is created (impact detected or Manually triggered), Event Live Auto-upload lets your Cloud-compatible BlackVue save a live video stream from a camera of your choice (front or rear/interior) to the Cloud server.
What BlackVue Cloud already does
With BlackVue Cloud, you can already receive Push Notifications on your phone when an impact on your parked vehicle is detected by your dashcam. You can even check right away what is going on around your car from the point of view of your front or rear camera with Remote Live View as seen in this video:
Why add Event Live Auto-Upload?
Depending on the area you live in, you might be more worried about dashcam thieves than about hit-and-runs. Imagine a scenario where a thief steals your dashcam. After breaking into your vehicle, the thief notices the camera and decides to take it to eliminate incriminating evidence. Sure enough, you might have received a notification when the gravity sensor of the BlackVue detected the break-in. You might even have checked the Remote Live View. But what if you didn’t notice the alert message or were yourself far away from your vehicle? What if you would simply rather not confront the thief alone? In most situations, with your dashcam gone, so is the evidence. Nothing to show the police, in case you thought of alerting them.
Enter Event Live Auto-upload.
Providing evidence in case of theft
With Event Live Auto-upload, since the live stream is saved in real time in the Cloud, you could still have incriminating video proof to show the police–especially if you use an interior-facing camera.
Luckily, BlackVue dashcams are often stealthy enough to stay unnoticed by unsuspecting thieves. However, as the general public’s awareness of dashcams grows, this could unfortunately change.
In a way, Event Live Auto-upload allows you to stay ahead of the thieves.
How to set it up?
By default the Event Live Auto-upload feature is disabled. To enable and configure it, please follow these steps:
1. Select BLACKVUE CLOUD.
2. Tap ⋮ next to your camera name and select Camera settings.

3. Select Event Auto-upload settings.
4. Configure your desired settings and press OK.

Accessing the recordings saved on BlackVue Cloud
1. Open the BlackVue app.
2. Select BLACKVUE CLOUD
3. Select your dashcam.
4. Tap Event Auto-upload.
5. Select the video you want to watch.

6. To save the videos to the internal memory of your smartphone, Tap ⋮ next to the video
you want to backup and select Copy to Internal Memory.

To download multiple files, tap the smartphone icon , select the files you want to download, then tap the Copy icon at the bottom.

Notes:
- Event Live Auto-upload recordings are saved in a separate Cloud storage, thus the regular BlackVue Cloud
Storage space is not occupied by them. - Replays and downloads of Live Auto-Upload recordings count towards your monthly “File
Replay/Download” limit i.e. 100 replays & downloads/month for a Free account. - The Live Auto-upload recordings stored in the Cloud will automatically be deleted after the following
period:- Free Account: 2 days
- Subscribed account : 7 days
*Live Auto-upload recordings can’t be deleted from the Cloud manually.
'%3e%3cg%20id='Final-Copy-2_2_'%20transform='translate(1275.000000,%20200.000000)'%3e%3cpath%20class='st0'%20d='M7.4,12.8h6.8l3.1-11.6H7.4C4.2,1.2,1.6,3.8,1.6,7S4.2,12.8,7.4,12.8z'/%3e%3c/g%3e%3c/g%3e%3c/g%3e%3cg%20id='final---dec.11-2020'%3e%3cg%20id='_x30_208-our-toggle'%20transform='translate(-1275.000000,%20-200.000000)'%3e%3cg%20id='Final-Copy-2'%20transform='translate(1275.000000,%20200.000000)'%3e%3cpath%20class='st1'%20d='M22.6,0H7.4c-3.9,0-7,3.1-7,7s3.1,7,7,7h15.2c3.9,0,7-3.1,7-7S26.4,0,22.6,0z%20M1.6,7c0-3.2,2.6-5.8,5.8-5.8%20h9.9l-3.1,11.6H7.4C4.2,12.8,1.6,10.2,1.6,7z'/%3e%3cpath%20id='x'%20class='st2'%20d='M24.6,4c0.2,0.2,0.2,0.6,0,0.8l0,0L22.5,7l2.2,2.2c0.2,0.2,0.2,0.6,0,0.8c-0.2,0.2-0.6,0.2-0.8,0%20l0,0l-2.2-2.2L19.5,10c-0.2,0.2-0.6,0.2-0.8,0c-0.2-0.2-0.2-0.6,0-0.8l0,0L20.8,7l-2.2-2.2c-0.2-0.2-0.2-0.6,0-0.8%20c0.2-0.2,0.6-0.2,0.8,0l0,0l2.2,2.2L23.8,4C24,3.8,24.4,3.8,24.6,4z'/%3e%3cpath%20id='y'%20class='st3'%20d='M12.7,4.1c0.2,0.2,0.3,0.6,0.1,0.8l0,0L8.6,9.8C8.5,9.9,8.4,10,8.3,10c-0.2,0.1-0.5,0.1-0.7-0.1l0,0%20L5.4,7.7c-0.2-0.2-0.2-0.6,0-0.8c0.2-0.2,0.6-0.2,0.8,0l0,0L8,8.6l3.8-4.5C12,3.9,12.4,3.9,12.7,4.1z'/%3e%3c/g%3e%3c/g%3e%3c/g%3e%3c/g%3e%3c/svg%3e) Your Privacy Choices
Your Privacy Choices