Article updated on Oct. 16, 2020.
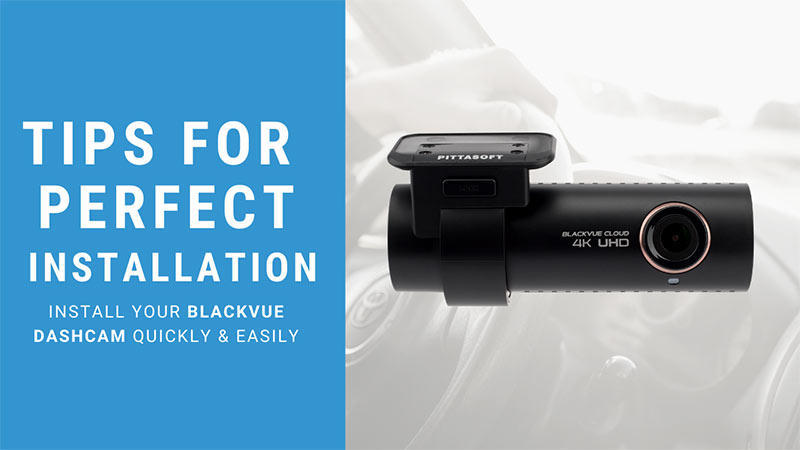
Are you looking to do your BlackVue dashcam installation on your own–congratulations on the new dashcam(!)? Or maybe you are on the fence, wondering how easy the installation would be to do by yourself? Here, we try to address your dashcam installation questions and give you tips that will help you achieve the perfect installation of the BlackVue dashcam in your car.
The good news is, you don’t need to sacrifice a day of your life just to install your BlackVue dashcam. From our years of experience and BlackVue users’ testimonials, we can confidently say that the complete installation shouldn’t take you more than around an hour.
Don’t Stick It To The Glass Just Yet
As you know, all BlackVue dashcams feature an adhesive type mount instead of a suction cup (and there are a few very good reasons behind it). This is why the alignment of the dashcam on the windshield/rear window has to be perfect once you peel the film off of the sticky tape on the mount.
Before you begin, it’s good to clean the spot you’re going to stick the dashcam to with an alcohol swab. This is going to ensure that the tape sticks to the glass well and there is no dust or dirt that could cause the mount to fall off.

Source: BlackVue Dash Camera Install | BMW e46
Use the BlackVue App (for Wi-Fi compatible models)
BlackVue dashcams generally offer a wide-enough angle of view so you don’t have to worry even if your dashcam is not dead center. If you are all about perfection, though, here is a tip to get it right every time. Before actually attaching the dashcam to the windshield, connect to your BlackVue via Wi-Fi and turn on the Live View in the BlackVue app. Here is a tutorial on how to connect to your dashcam via direct Wi-Fi.

Source: BLACKVUE 900S-2CH dash cam step by step install with power magic ultra battery
Once you see the Live View on your phone’s screen, you can position the dashcam perfectly on your windshield. Repeat the process for the rear camera if your BlackVue dashcam is a dual channel one.
Neat And Tidy Wires
IMPORTANT: whenever routing power or video cables inside your car, make sure that the cables do not hinder the deployment of your vehicle’s airbags. Pay extra attention to the A-pillars, which are the areas between your windshield and the driver and passenger doors. These usually host the side-curtain airbags of your vehicle. Refer to your vehicle’s manual for information on the location of the airbags in your vehicle. In doubt, do not hesitate to consult a professional installer.
Let’s talk cables – because wiring is the second biggest hurdle when it comes to a dashcam installation.
With a single channel dashcam it’s pretty straightforward – you only need to run the cable from the dashcam to the power source. A dual-channel dashcam (such as the BlackVue DR900X-2CH) requires a little bit more work, as the video cable needs to be connected from the front (main) camera to the rear camera at the back of your car. Luckily, BlackVue power and video cables’ thin design makes them easy to tuck away along the headliner and the weatherstrips (rubber door seals).
Wires hanging all over the inside of your vehicle is not an ideal situation. BlackVue provides everything you need to neatly hide those wires away, though!
In your BlackVue dashcam box you will find a pry tool and a few cable clips (pry tool availability and number of clips may vary depending on the dashcam model).
BlackVue pry tool (depending on the model) & cable clips are included in the box.
The pry tool will help you get those wires tucked neatly along the headliner and weatherstrips, and for the places where it’s impossible to hide the cables completely, you can use the cable clips to fit the wires snugly against the inside of the glove box or underneath it.
Credit: Blackvue Front and Rear Facing Dash Cam Install
Refer To The Videos
If you’re unsure if what you’re doing is the correct way, have a look at the installation videos listed on each product page of the BlackVue site. For more specific videos you can also take a look at the BlackVue Installation Videos page.. The Installation Videos Page is where we compiled BlackVue user installation videos from across the Internet – you can sort the videos by the BlackVue product (dashcam or Parking Mode accessory), vehicle type and car brand. Even if you can’t find the exact same vehicle type as yours, you can still get some inspiration and advice from other BlackVue users, so make sure to check them out.
Not Confident Enough To Do It Yourself? We Got You Covered!
You do not need to feel bad for requiring a little bit of professional help! Any equipment installation can be daunting, especially when there is Parking Mode accessory hardwiring involved – like in the Power Magic Pro’s case.
Here’s where our Store Finder will help you – go to the Store Finder page on the BlackVue website and on the left you will find different search settings. By clicking on “Installer”, you will be able to find an official BlackVue installation shop near you. If you click on the little blue icon on the map, you will get all the important information about the shop, including their phone number.
BlackVue Store Finder
We hope this article will help you with your BlackVue installation – by following these simple steps you can be sure that the process will be smooth and easy!
'%3e%3cg%20id='Final-Copy-2_2_'%20transform='translate(1275.000000,%20200.000000)'%3e%3cpath%20class='st0'%20d='M7.4,12.8h6.8l3.1-11.6H7.4C4.2,1.2,1.6,3.8,1.6,7S4.2,12.8,7.4,12.8z'/%3e%3c/g%3e%3c/g%3e%3c/g%3e%3cg%20id='final---dec.11-2020'%3e%3cg%20id='_x30_208-our-toggle'%20transform='translate(-1275.000000,%20-200.000000)'%3e%3cg%20id='Final-Copy-2'%20transform='translate(1275.000000,%20200.000000)'%3e%3cpath%20class='st1'%20d='M22.6,0H7.4c-3.9,0-7,3.1-7,7s3.1,7,7,7h15.2c3.9,0,7-3.1,7-7S26.4,0,22.6,0z%20M1.6,7c0-3.2,2.6-5.8,5.8-5.8%20h9.9l-3.1,11.6H7.4C4.2,12.8,1.6,10.2,1.6,7z'/%3e%3cpath%20id='x'%20class='st2'%20d='M24.6,4c0.2,0.2,0.2,0.6,0,0.8l0,0L22.5,7l2.2,2.2c0.2,0.2,0.2,0.6,0,0.8c-0.2,0.2-0.6,0.2-0.8,0%20l0,0l-2.2-2.2L19.5,10c-0.2,0.2-0.6,0.2-0.8,0c-0.2-0.2-0.2-0.6,0-0.8l0,0L20.8,7l-2.2-2.2c-0.2-0.2-0.2-0.6,0-0.8%20c0.2-0.2,0.6-0.2,0.8,0l0,0l2.2,2.2L23.8,4C24,3.8,24.4,3.8,24.6,4z'/%3e%3cpath%20id='y'%20class='st3'%20d='M12.7,4.1c0.2,0.2,0.3,0.6,0.1,0.8l0,0L8.6,9.8C8.5,9.9,8.4,10,8.3,10c-0.2,0.1-0.5,0.1-0.7-0.1l0,0%20L5.4,7.7c-0.2-0.2-0.2-0.6,0-0.8c0.2-0.2,0.6-0.2,0.8,0l0,0L8,8.6l3.8-4.5C12,3.9,12.4,3.9,12.7,4.1z'/%3e%3c/g%3e%3c/g%3e%3c/g%3e%3c/g%3e%3c/svg%3e) Your Privacy Choices
Your Privacy Choices